☁️
Product Docs
  • LayerStack Documentation
    • Getting Started
    • Data Center Selection
  • Products
    • Cloud Servers
      • Shared CPU
        • General Purpose
        • Arm-Based
        • High Storage
      • Dedicated CPU
        • Memory optimized
        • Compute-Optimized
    • Dedicated Cloud
      • Dedicated Physical Cores (vCPU)
      • Dedicated Hardware
    • Dedicated GPU
    • Load Balancer
    • Backup
  • Networking
    • Global Private Network
      • Virtual Private Cloud (VPC)
    • DDoS Protection
    • China Direct CN2 Route
    • Firewall
    • Reverse DNS
  • LayerPanel
    • Billing
    • Roles & Permissions
    • Developer Tools
      • API
      • Template
      • ISO
      • One-click Apps
  • Release Notes
  • Tutorials
  • Quickstart
    • Register Account
    • Create instance
    • Enable Dedicated GPU
    • Configure Load Balancers
    • How to Restore/ Delete backups
    • Enable Private Network
    • Enable Global Private Network
    • Set up new Virtual Private Cloud (VPC)
    • Rebuild existing Cloud Servers into Virtual Private Cloud (VPC)
    • Activate DDoS Attack Protection
    • Enable China Direct CN2 Route
    • Create a Firewall Template & Add Firewall Rules
    • Create a Reverse DNS record
    • Create Custom Template
    • Install the server with Custom Template / VM Image File
    • Delete a Custom Template / VM Image File
    • Mount/ Detach ISO
    • Upload Custom ISO
    • Deploy the server with One-click Apps
    • Deploy the server with Ubuntu 20 with LAMP/LEMP
    • Manage User
Powered by GitBook
On this page
  1. Quickstart

Upload Custom ISO

PreviousMount/ Detach ISONextDeploy the server with One-click Apps

Last updated 2 years ago

  1. Log in to , go to the Services section and click Cloud Servers. Then, select the cloud server on which you want to use an ISO file.

  2. Click ISO.

  3. Click Upload and select one of the three options.

File Location: Enter the HTTP download URL

File Name: Enter your ISO name (E.g CentOS8)

Example: http://xxx.com/pub/Linux/centos/8/xxx.iso

If your ISO file is stored in an FTP server, you need to use the FTP method and change the URL from http:// to ftp://

Example:

http://ftp.xxx.hk/pub/Linux/centos/8/xxx.iso needs to be change to ftp://ftp.xxx.hk/pub/Linux/centos/8/xxx.iso

File Location: Enter the FTP directory path File Name: Enter your name of VM image file (E.g CentOS8) FTP Login: Enter your FTP login username FTP Password: Enter your FTP password

Example: ftp://ftp.xxx.hk/pub/Linux/centos/8/xxx.iso

File Location: Enter the HTTP download URL File Name: Enter your ISO name (E.g CentOS8)

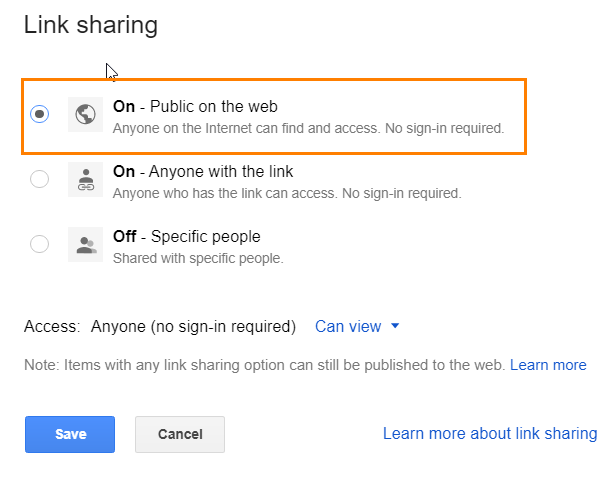
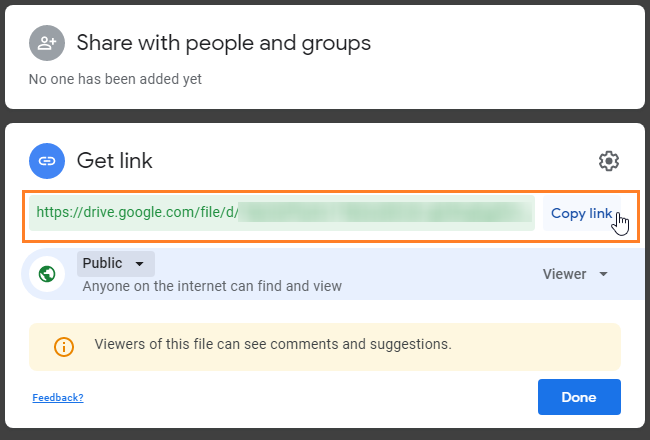
Example: https://drive.google.com/file/xxx/view?usp=sharing

Make sure to select Public on the web because the connection is public between your computer and our server.

uploadiso1

4. Once the upload process is completed, click Switch and select your custom ISO file

5. After the installation is completed, you may detach & delete ISO file from the ISO option.

uploadiso2
LayerPanel